Category: Shoji Blog

Asian Themed Picture Frames for my Doctor/Artist Client

Asian Themed Picture Frames for my Doctor/Artist Client

11-P1030473

The client who commissioned 2 sets of Shoji covered in my previous blog posts; ask me to build him two 5′ wide by 6′ tall picture frames.

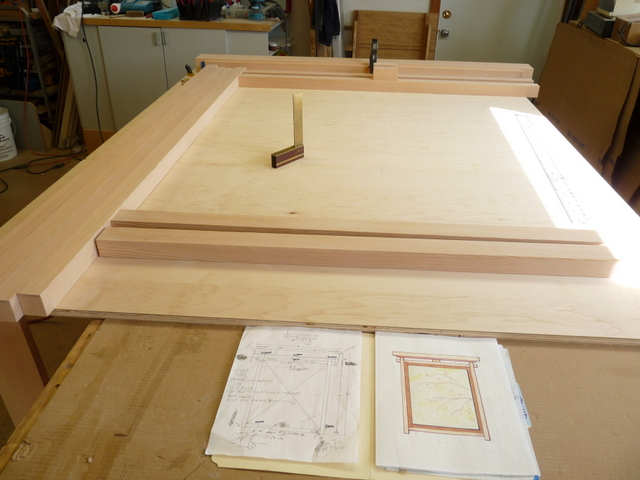
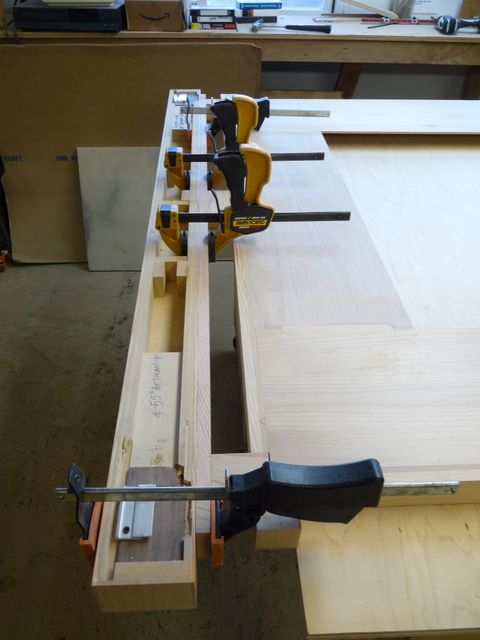
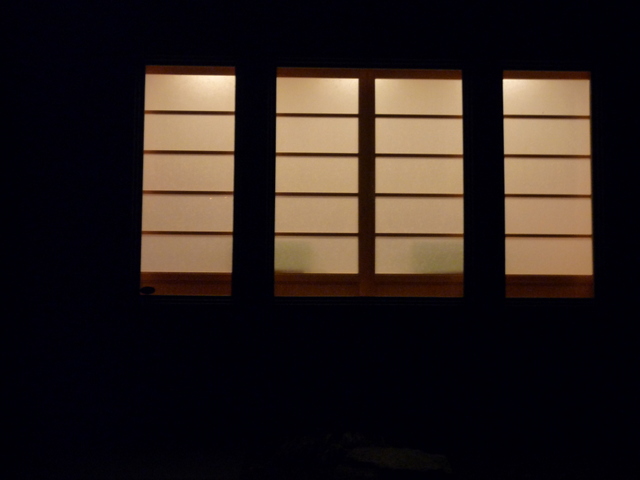
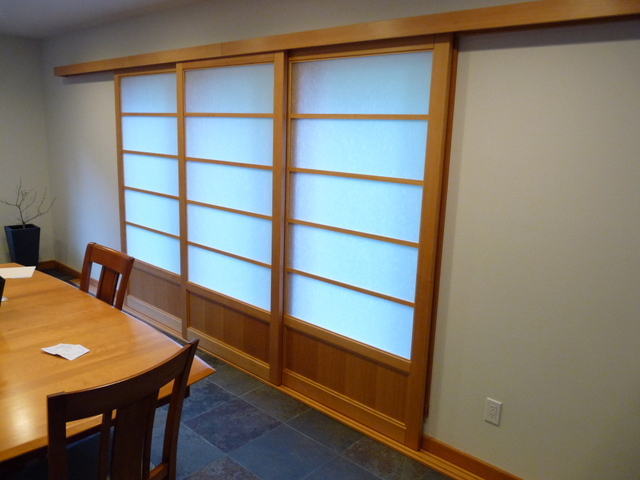
The client had a Tori gate in mind when he designed the frames to showcase a bunch of large canvasses that he can rotate according to artist’s whim… He ask for these to hang on either wall of his great room in his new spacious house near OHSU. They are clear Fir (with 1/4″ thick inner frame of Alder plywood) to match the trim and the shoji in the same room, including a little shoji for the projection screen he uses sometimes. I just took these to the finisher on Friday so they will look much different when sprayed with lacquer. He has several paintings that are sized so they can be hung in the center and the painting exposes 3-5″ of the inner frame. These took a incredible amount of work as all the individual pieces (rails and stiles) are glued up of several pieces and covered with 3/16″ veneer to try and get a handle on the weight and the darn wood staying/not staying straight.
I figured out a cool way to hang it so it will hug the wall with a kind of aluminum museum hanger and I have strong magnets to pull in at the bottom.
Installation is a matter of using ZIP-ITS, a big (9/16″ diameter) plastic screw-like thing that (of course) screws into the sheetrock. It is also has an 8-32 inner-threading (common machine screw) and using this…attach a metal clip to the wall, one on either side at 55″ wide. The frame has a metal clip on it and they just slide together forming an incredibly strong connection. At the bottom of the stiles; I epoxied a 5/8″ rare-earth magnet on either side.
After they are hung, I can locate the mags position and using another zip-it, put a small metal square on the wall (like used on a cabinet magnet).
Once mounted, these will be there permanently! I’ll post pix of the finished frames when I get that far… next week.
BTW- I use “Stan Hanson Custom Finishing” here in Portland. They take good care of me.
Thanks for reading.
01-P1030455

04-P1030463

05-P1030465

06-P1030467

08-P1030470

09-P1030471

10-P1030472

12-P1030474


New Clear Fir 3 Screen Over-window Installation

I did a job for this client last year and they opted to have more installed in the dining room/art room of their new home in South-West Portland.
Their home was done last year and all the trim is clear Fir with a clear lacquer finish. After meeting with the designer (local Portland designer, Jason Ball) and owner, we went with that same wood and finish.

24-P1030280

When it’s dark out, the shoji glow! All these shoji have 2.0mm White Imported Japanese acrylic (Warlon).

17-P1030369

13-P1030269

10-P1030358

16-P1030368

17-P1030369

These turned out pretty cool.

6’8″ SHOJI OR BARNDOOR IN A 12′ TALL OPENING

here is a typical opening in a downtown condo. This one has 12' ceilings
here is a typical opening in a downtown condo. This one has 12′ ceilings
the valance box attached to the kitchen cabs which were securely screwed too the wall.
finished project
finished project

 finished projectI have great news if you have very tall ceilings in your condo or home.
We have a Pearl district in NW Portland that is the hot-spot to get a condo. There is a mix of old warehouses and new buildings where it’s popular for some reason to have 11′ or 12′ tall ceilings and have the interior walls go from floor to ceiling. Dramatic but hard to fill with doors of any kind, and probably tough to heat too.
If you have 8′ or taller ceiling height, and would like to have Shoji or a barn-door set-up, there isn’t a need to have the tracks on the ceiling and have (up to) 12′ tall doors.
I have developed a system that puts the doors at a typical height (usually 80″ to 84″) or match the existing height of your doors without building walls or lowering the ceiling.
The client can have the space above the tracks left open or covered with a transom or Ranma (as they are called in Japan). What fills the space might be a shoji-like screen, or a carved panel. It might be a geometric pattern; like broken ice or maybe snowflakes. It may or may-not have rice-paper in it.
The installation is almost typical for me, except I build the valance for the upper track like a “I” beam or “strong-back”. Depending on the width of the opening, I make the faces of the valance box wider. I have easily spanned 9′ with 3 doors hanging from it. It was so strong that I could do pull-ups on the installed valance box. In order for this to work, there must be existing walls on either side.
And if the client decides to move, they can remove the screens and valance box and take them along.

Looking for a modern rolling door?

Looking for a modern rolling door?

Fine Homebuilding is a great magazine that I have subscribed to off and on for many years. As I detailed in the previous blog post, it even has pictures of my work!
Today, I wanted to point out that there is a great article on rolling hardware in the JAN-2014 issue.
The writer is (of course) a professional and he goes over all the different kinds available. He goes over a couple brands of hardware and even covers the brand I mostly use: Johnson Hardware. See: Johnsonhardware.com
On Johnson’s website they have it broken down in categories. I don’t use the wall mount hardware much see: http://www.johnsonhardware.com/wmindex.htm
I would use it more if I was doing more condo jobs. When I use it, I glue a 3/8″ piece of matching wood right onto the metal fascia. This looks a hundred times better and is a quick solution. I don’t care for a “mill finish” metal band anywhere near my nice doors. I always hide it.

The hardware pictured on the cover of Fine Homebuilding is from I think: Rustica. see at:
Rusticahardware.com
In the article, author/carpenter: Gary M. Katz mentions that when you buy the tracks, make sure there is a way to mount it securely.
Gary explains that most tracks are predrilled for the mounting holes. If you use this type, you must have a header in the wall AND you must extend that header at least the width of the door on the side the door will slide. Rustica makes a tube type (not mentioned in the article) that has a different type mounting hardware: http://rusticahardware.com/box-track-barn-door-hardware/
This type hardware is great for existing conditions. If you can’t tear out and install a header, you will need to position the mounting posts on top of the stud. This will require the installer to locate each stud and mark the wall at the stud center. You will also undoubtedly need a board mounted on top of the studs, the length of the track. If you don’t have a board there,as you tighten the lag bolts on the posts, it will crush the drywall. The thickness of this board may be determined by the thickness of the base as that will push the centerline of the door out from the wall. I think it’s best to get the hardware first and measure it . The company does NOT provide all the details on their site and in the article, Gary does NOT have any base to deal with.
I have one ordered RIGHT NOW from Rustica and I am awaiting it’s arrival so I can determine what the heck I must do. That’s the way it goes around here sometimes. if you have questions, write me as I may be able to help.